Did you know tornado winds can be as high as 600 mph? The U.S. has the most tornadoes, and they have struck every state. “Tornado Alley” is a name meteorologists have given to the area from south Nebraska through central Texas. It’s a part of our country where tornadoes occur every year.
Let our Jerry Can windsock show your kids how powerful the wind is on a “normal day” while teaching them how devastating damaging winds can be. Follow the below instructions to learn how to make your very own windsock at home, and check out the Presbyterian Giving Catalog’s Jerry Can Curriculum for additional lessons and activities!
Gather the following items: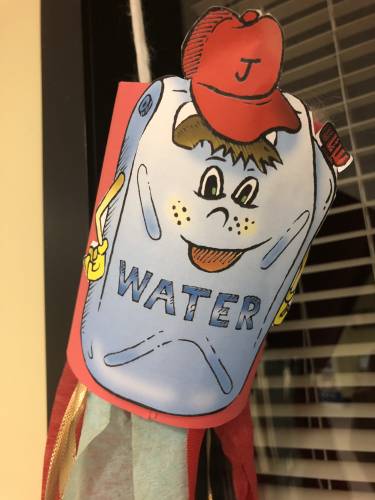
- 12″ x 6″ pieces of Fun Foam or construction paper in various colors
- Jerry Can logo
- Stapler
- Glue
- Single-hole paper punch
- 30″ length of string, ribbon, or yarn
- 10″ lengths of ribbon or crepe paper streamers in a variety of colors
- Felt-tipped markers
- Scissors
What to do:
- Make one copy for each child of the Jerry Can logo, preferably on card stock, and cut them out.
- Have the children color the logo with markers.
- Show them how to attach the logo to the center of the piece of Fun Foam or construction paper using glue or a stapler.
- Staple the ribbon or crepe paper streamers about one inch apart with the cut edge about two inches from the bottom of the long edge of the Fun Foam or construction paper.
- Show them how to roll the paper into a tube, overlapping the edges about one inch.
- Staple the tube at the top and bottom and glue the overlapping edge between the staples.
- Punch a hole on each side of the windsock, about ½” from the top edge.
- They can thread yarn or string through holes on each side, bring the two ends together, and knot.
Don’t forget to take a picture of your kiddos with their windsocks and share on social media! Tag @GivingCatalog and use #pgcJerryCan, and we’ll send you #makingadifference t-shirts!